Gauge Block: High-Precision Calibration Standards for Metrology

All Categories

Get a Free Quote

Our representative will contact you soon.
Email
Name
Company Name
Message
0/1000

Gauge Block: Precision Dimensional Measuring Standards

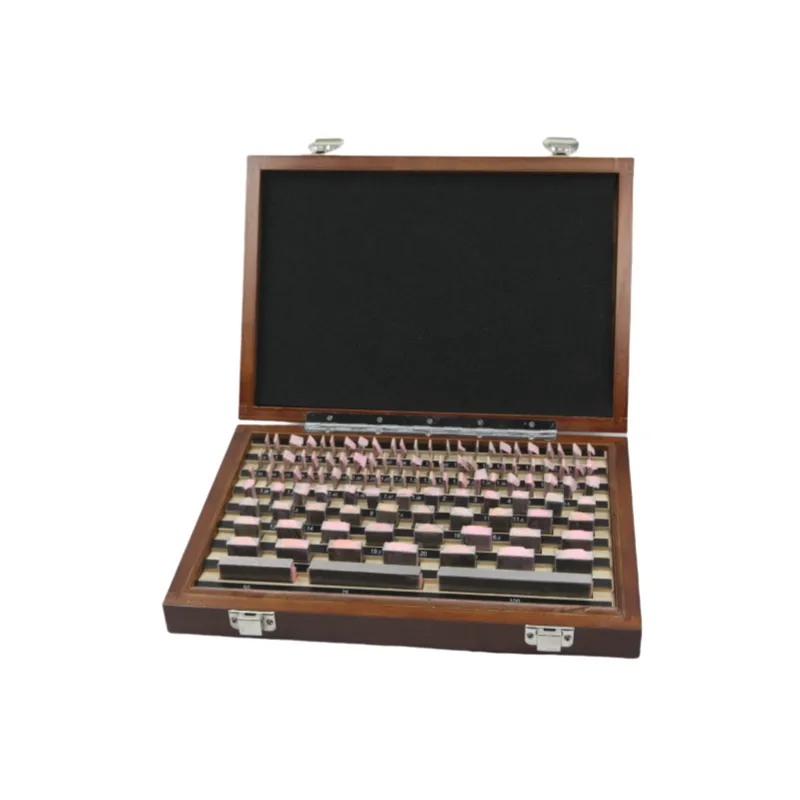
This page provides an overview of gauge blocks (also known as slip gauges), which are precision measuring instruments used for dimensional calibration and verification. Made from high-quality steel or ceramic, they feature extremely flat and parallel surfaces, offering accuracy within microns. Topics include their design, grading, applications in metrology, and usage in workshops and laboratories.
Get A Quote

Advantages of the product

Versatile Sizing Options

Ranges from 0.5mm to 1000mm in metric and inch systems, with incremental sets for precise stack-up measurements. Can be wrung together to create custom lengths with sub-micron accuracy.

Related products

If you compare the hardness of carbide gauge blocks, which is 1300HV, to that of steel, it is easy to see it is much higher. Therefore, unlike steel, carbide works best in harsh environments such as plating baths or foundries. Tungsten carbide does not have a high thermal expansion coefficient making it better than steel. Its coefficient is 4.5 × 10^{-6} /°C. Because of this, better calibration if air gauges and plug gauges is attainable, straigth with their ultra-flat surfaces, which have a flatness of \leq 0.0002 mm. Carbide gauge blocks conform with ISO 10360-2 with metrology regarding space.
Frequently Asked Questions

Do gauge blocks meet international standards?

Yes, they comply with ISO 3650, ASME B89.1.9, and JIS B7506, ensuring compatibility with global calibration protocols in aerospace, automotive, and semiconductors.

Related Articles

Enhancing Quality Control with Digital Calipers

16

Apr

Enhancing Quality Control with Digital Calipers

View More
Innovations in Laser Cutting Machines for Modern Industries

16

Apr

Innovations in Laser Cutting Machines for Modern Industries

View More
Choosing the Right Tool Holder for Optimal Performance

19

May

Choosing the Right Tool Holder for Optimal Performance

View More
Maximizing Efficiency with Advanced CNC Machines

16

Apr

Maximizing Efficiency with Advanced CNC Machines

View More

Customer Reviews

Easton

The IT0-grade blocks (±0.0005mm tolerance) formed the backbone of our calibration lab. Their lapped surfaces (Ra≤0.02μm) ensured CMM accuracy, critical for aerospace component certification.

Get a Free Quote

Our representative will contact you soon.
Email
Mobile/WhatsApp
Name
Company Name
Message
0/1000
Compliance with Global Standards

Compliance with Global Standards

Meets ISO 3650, ASME B89.1.9, and JIS B7506 standards, ensuring compatibility with international calibration protocols in aerospace, automotive, and semiconductor industries.
Easy Maintenance

Easy Maintenance

Lapped surfaces require minimal cleaning (alcohol wipes) and storage in temperature-controlled environments, reducing upkeep costs for metrology departments.
Multi-Application Use

Multi-Application Use

Used in labs for tool calibration, on shop floors for machine alignment, and in research for precision spacing in optical setups. Critical for maintaining quality control in ISO 17025-certified facilities.
Cost-Effective Calibration

Cost-Effective Calibration

Reusable and long-lasting, gauge blocks offer a cost-effective alternative to disposable calibration standards, providing reliable accuracy for decades with proper care.