
Understanding Digital Caliper Measurement Accuracy
The Role of Digital Caliper in Precision Measurement
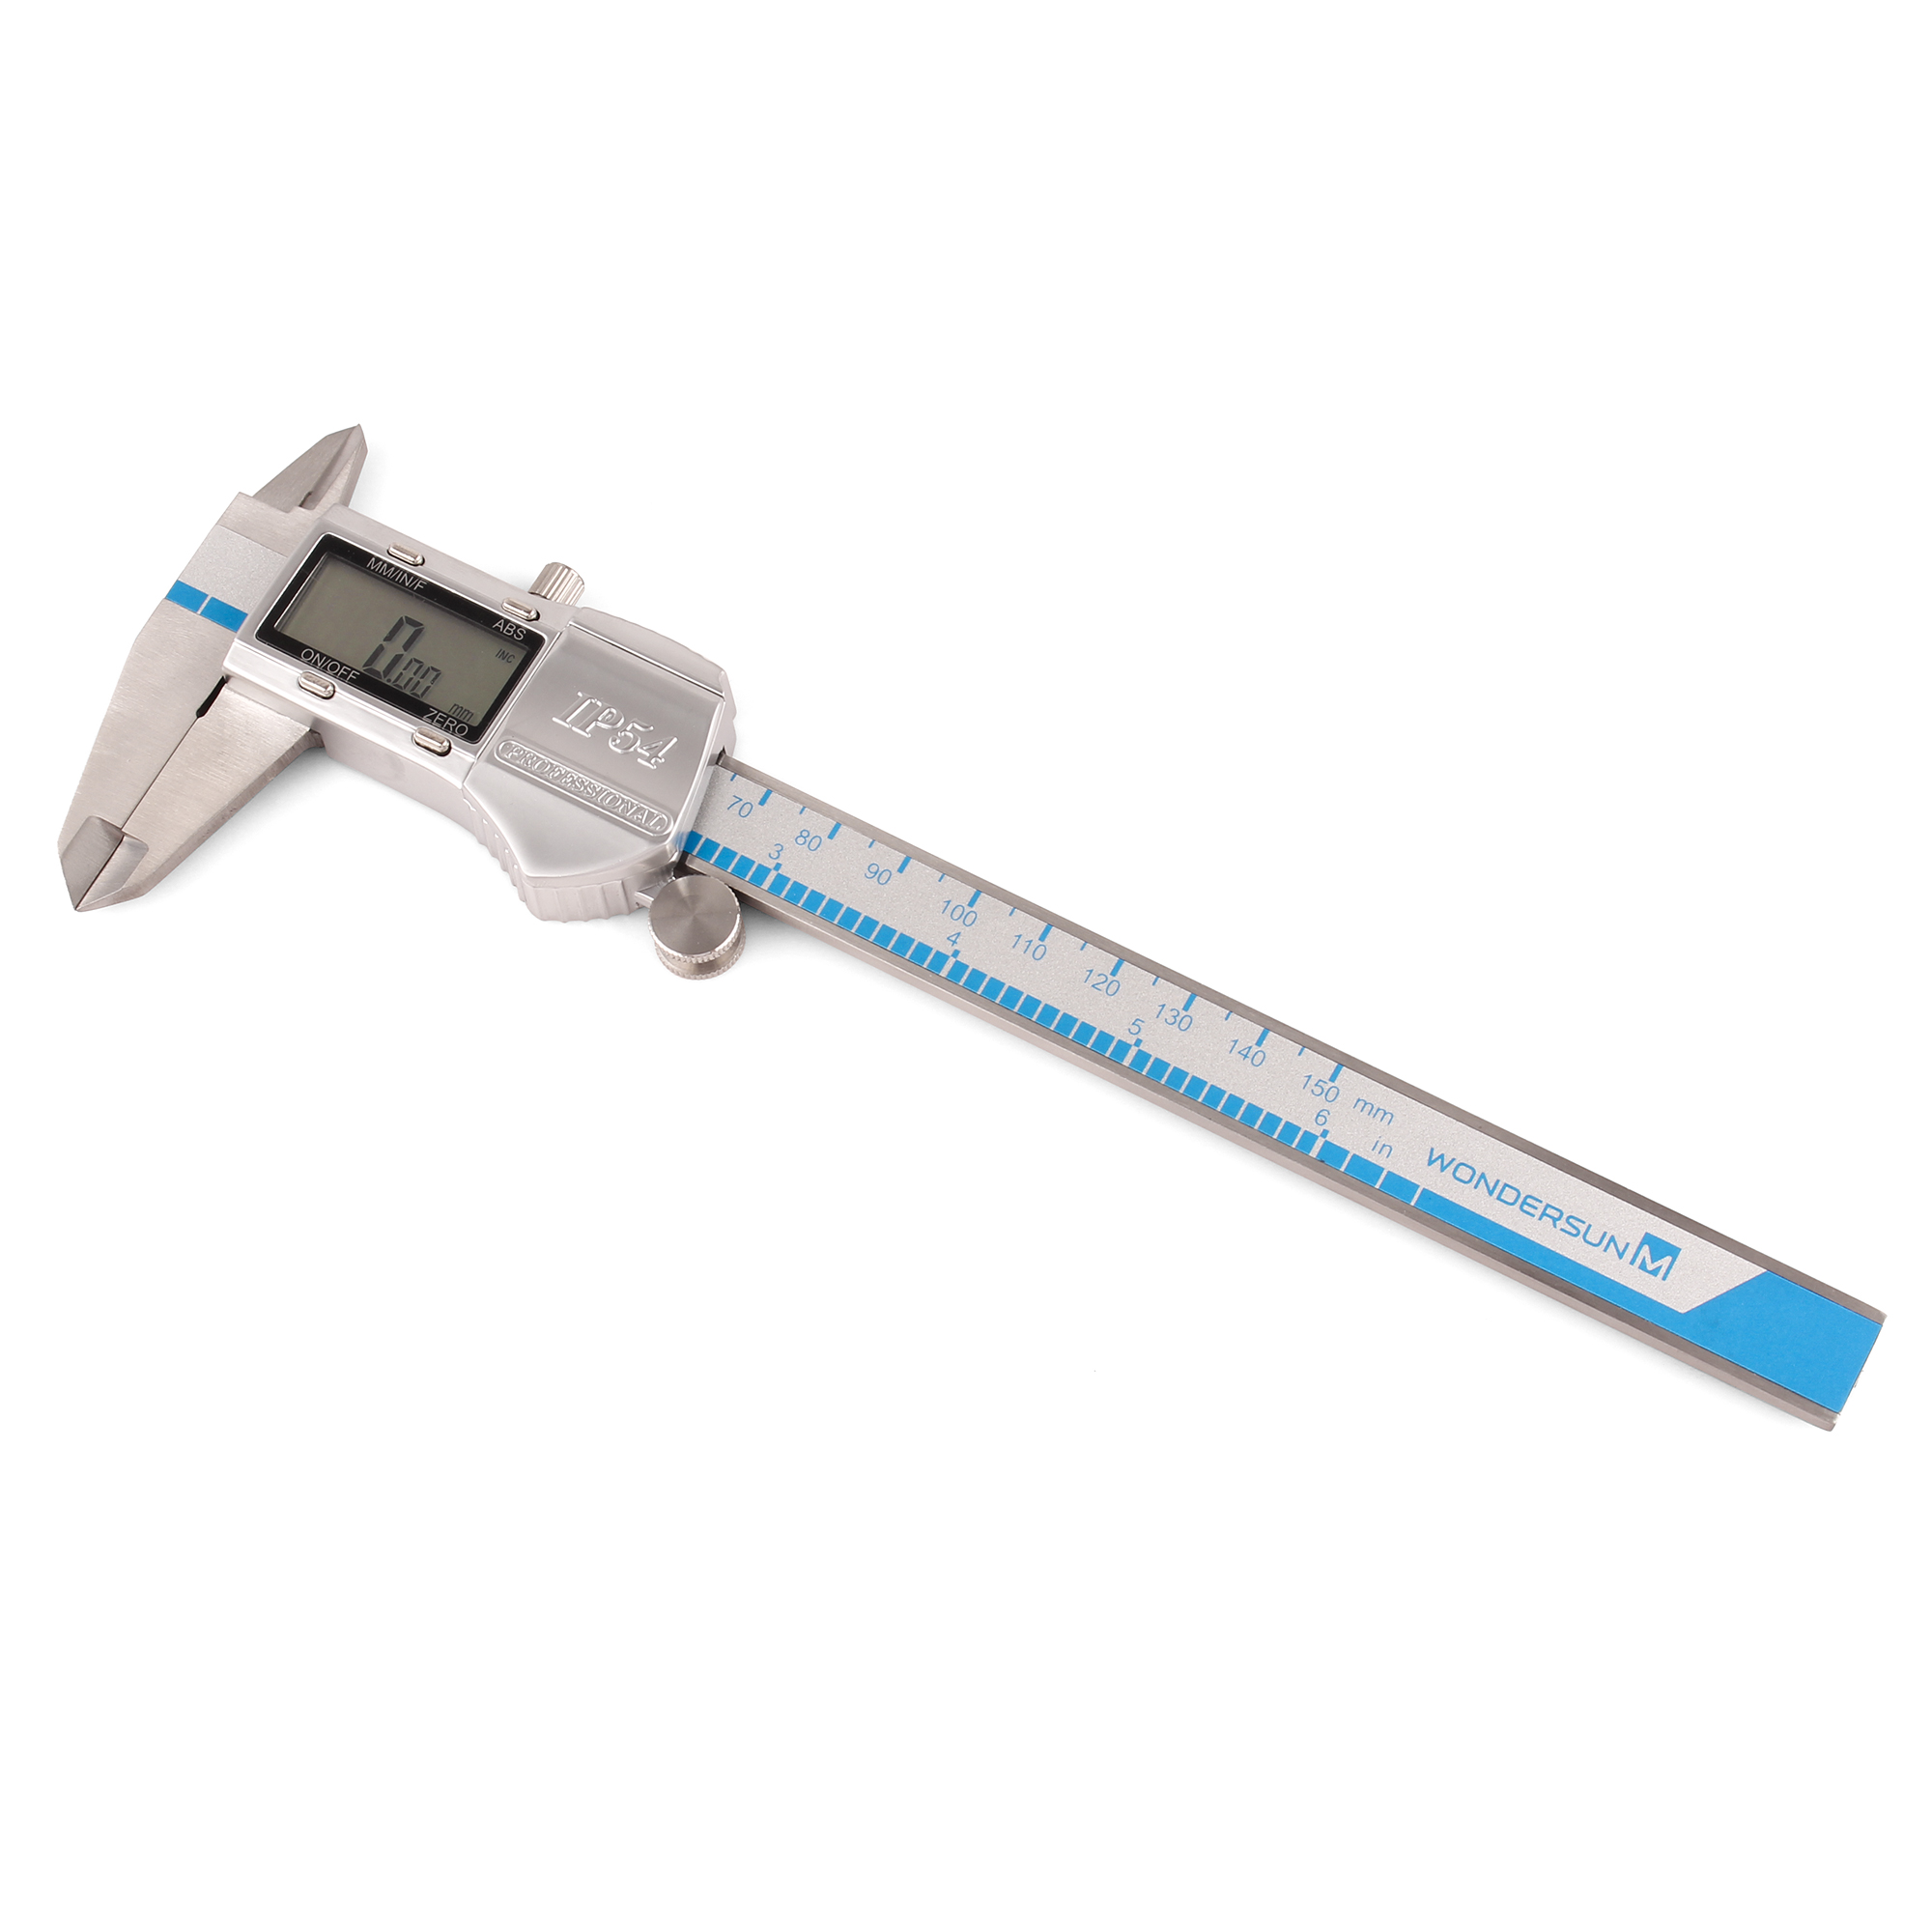
Digital calipers changed how we measure things precisely because they combine electronic sensors with those easy-to-read digital screens, cutting down on mistakes people make when reading measurements manually. Most modern ones can get accurate down to 0.01 mm, which makes them indispensable for jobs requiring tight tolerances like working with CNC machines or checking parts for aircraft engines. The big advantage is the clear LCD display that shows numbers right there, plus handy functions such as setting a new zero point or switching between metric and imperial units without hassle. For manufacturers in sectors where even tiny measurement errors could ruin entire batches of products, these calipers aren't just useful but absolutely necessary. Think about airplane components or medical devices where getting measurements wrong might literally cost lives.
Key Factors Influencing Digital Caliper Accuracy
Four primary factors determine measurement reliability:
- Build Quality: Stainless steel construction minimizes wear and thermal expansion.
- Environmental Stability: Temperature changes exceeding 10°C can introduce errors up to 0.02 mm.
- User Technique: Consistent jaw alignment and controlled pressure prevent skewed results.
- Battery Health: Low power may cause display lag or rounding inaccuracies.
Measurement Uncertainty and Gage Selection for Critical Tasks
For mission-critical applications, selecting the appropriate gage based on uncertainty requirements is essential:
| Task Criticality | Maximum Uncertainty | Calibration Frequency |
|---|---|---|
| High (e.g., implants) | ≤ 0.005 mm | Every 30 days |
| Medium (e.g., automotive) | ≤ 0.01 mm | Quarterly |
| Low (e.g., prototyping) | ≤ 0.02 mm | Biannually |
Regular calibration ensures compliance and consistency across production environments.
Industry Standards for Acceptable Tolerance in Digital Calipers
ISO 13385-1 requires digital calipers in regulated sectors—such as defense and pharmaceuticals—to maintain traceable calibration records. Most general-purpose models comply with the MID (Measuring Instruments Directive) tolerance of ±0.03 mm. For higher precision needs, such as semiconductor manufacturing, instruments certified to ASME B89.1.14 standards ensure repeatability within 0.0015 mm.
Proper Calibration and Zeroing Procedures for Reliable Results
Zeroing the Digital Caliper Before Each Use to Prevent Offset Errors
Before starting any measurements, it's important to zero out the caliper with a certified gauge block first thing. Leftover offsets from previous measurements can actually throw off readings by as much as 12.7 microns, which makes all the difference in precision work. When working in areas where temperatures swing more than plus or minus 2.8 degrees Celsius, we need to reset the zero point again because both the measuring tool and what we're measuring expand and contract differently when heated or cooled. This becomes especially critical for aerospace components or medical devices where tolerances are tight. In those cases, most shops do hourly zero checks on Class 0 granite surface plates just to be safe. Experience shows that even small drifts over time can accumulate into bigger problems down the line.
Step-by-Step Guide to Calibrating Digital and Dial Calipers
- Clean jaws and depth rod with isopropyl alcohol to remove debris
- Verify jaw parallelism using Grade 2 Jo Blocks or master rings
- Test repeatability at 10%, 50%, and 90% of full scale
- Compare readings against NIST-traceable standards with ≤0.0001" uncertainty
Uncalibrated calipers can accumulate errors of 0.001" per 100 cycles. Annual calibration reduces measurement drift by 89% in high-precision settings.
Auto-Zero vs. Manual Zero: Best Practices in Field Conditions
Auto-zero definitely makes things faster, but sometimes hides problems with calibration that need fixing. For castings and composite stuff, getting better results means taking time to manually zero right on the actual workpiece surface. This helps cut down those pesky thermal compensation errors we all deal with. Real world testing has shown that manual zeroing gives us around ±0.0002" repeatability, whereas auto-zero drops to about ±0.0005" when there's dust floating around. Most seasoned technicians will tell anyone who'll listen that turning off auto-zero is smart practice when dealing with different materials or anything non-conductive. Keeps everything grounded and gives better control over where our reference points actually are.
Maintaining Jaw Cleanliness and Physical Condition
Cleaning Caliper Jaws to Ensure Consistent Contact and Accuracy
Of all the things that mess up measurements, contamination stands out as something we actually have control over. After finishing work, it's good practice to clean those measuring jaws and the depth rod with a lint free cloth soaked in rubbing alcohol, paying special attention to where parts actually touch. When dealing with really stuck on grime, reach for a gentle brass brush instead of anything harder that might scratch surfaces. According to research from NIST back in 2022, even thin layers of oil film (think around 2 microns thick) can throw off readings by as much as 0.05 millimeters. That matters a lot when working within tight aerospace specs where tolerances sometimes need to stay under 0.025 mm.
Effects of Debris, Oil, and Wear on Measurement Reliability
- Debris: Metal shavings or dust create false zero points, affecting all subsequent measurements
- Lubricants: Excess oil causes slippage, especially problematic in 0.01 mm resolution models
- Wear: Flattened jaw tips losing over 10% surface area compromise grip and alignment
Inspecting Jaw Flatness and Wear Using Gage Blocks and Ring Gauges
Monthly inspections help detect degradation early:
| Tool | Procedure | Pass/Fail Criteria |
|---|---|---|
| Grade AA Gage Block | Clamp between jaws at 10N force | ±0.003 mm deviation across 50mm |
| Master Ring Gauge | Measure ID with upper jaws | Repeatability within 0.005 mm |
Per ISO 13385-2, replace calipers if wear exceeds 5µm on any jaw surface. For quick field checks, drag a jeweler’s loupe across the jaws—catch points indicate burrs that require stoning.
Correct Measurement Techniques to Improve Repeatability
Avoiding Over-Tightening to Prevent Part and Tool Deformation
Excessive clamping force causes part deformation and accounts for 18% of dimensional defects in manufacturing. Close the jaws using only the thumb roller’s natural resistance, allowing tapered tips to self-center without indenting softer materials like aluminum or plastic.
Mastering Measurement 'Feel' and Consistent Applied Pressure
A 2023 MIT metrology study revealed that 40% of dimensional errors stem from inconsistent pressure. Develop tactile consistency by practicing on gauge blocks, maintaining contact force equivalent to sliding a credit card between surfaces. Users should confirm uniformity through repeated step-gauge measurements showing less than 25µm variation.
Ensuring Square Alignment of Caliper with Reference Edges
Angled placement introduces cosine errors, particularly in engine piston or bearing race measurements. Align jaws perpendicular to reference edges, verifying squareness with a combination square. For cylindrical parts, rotate the caliper 120° and take three readings to assess concentricity.
Standardizing Procedures for Higher Repeatability Across Users
Implement GR&R (Gage Repeatability and Reproducibility) methods to evaluate system variability, aiming for <10% GR&R in critical aerospace workflows. Standardize jaw positioning, data recording formats, and environmental compensation protocols to achieve less than 5µm inter-operator variance.
Using the Right Measuring Method for Each Feature
Outside Measurements with Lower Jaws: Achieving Full Surface Contact
Ensure complete contact between lower jaws and the workpiece during external measurements. Rocking or uneven pressure tilts the jaws, introducing uncertainty up to 0.05 mm. For cylindrical parts, align the caliper perpendicular to the axis to avoid cosine error.
Inside Measurements with Upper Jaws: Alignment and Pressure Control
When measuring internal features like bores or slots, align upper jaws precisely and apply light, consistent pressure. Excessive force flexes the jaws upward; insufficient contact leaves gaps. For diameters under 10 mm, consider telescoping gauges instead, as caliper jaws struggle to maintain parallelism in confined spaces.
Depth Measurements Using the Depth Rod: Avoiding Angular Error
Extend the depth rod fully into recesses while keeping the caliper body parallel to the surface. A 5° tilt introduces a 0.4% error—critical in aerospace and medical components. Confirm accuracy by taking multiple readings at different rotational positions.
Best Practices and Limitations When Measuring Hole Depth
Digital calipers are effective for depths up to 150 mm, but best practices recommend verifying deep holes with dedicated depth micrometers. Always clean the depth rod shoulder and reference surface. For blind holes with depth-to-diameter ratios exceeding 6:1, alternative methods such as ultrasonic testers are preferred to avoid deflection errors.
FAQ Section
- What is the typical accuracy of a digital caliper? Most digital calipers offer accuracy up to 0.01 mm.
- Why is environmental stability important for caliper accuracy? Temperature variations can cause expansion or contraction, leading to measurement errors.
- How often should calipers be calibrated for high-critical tasks? For high-critical tasks like implants, calibration should be performed every 30 days.
- What are the recommended practices for cleaning caliper jaws? Use a lint-free cloth and rubbing alcohol, with a brass brush for more stubborn grime.
- How does manual zeroing improve accuracy? Manual zeroing can reduce thermal compensation errors seen with auto-zeroing.