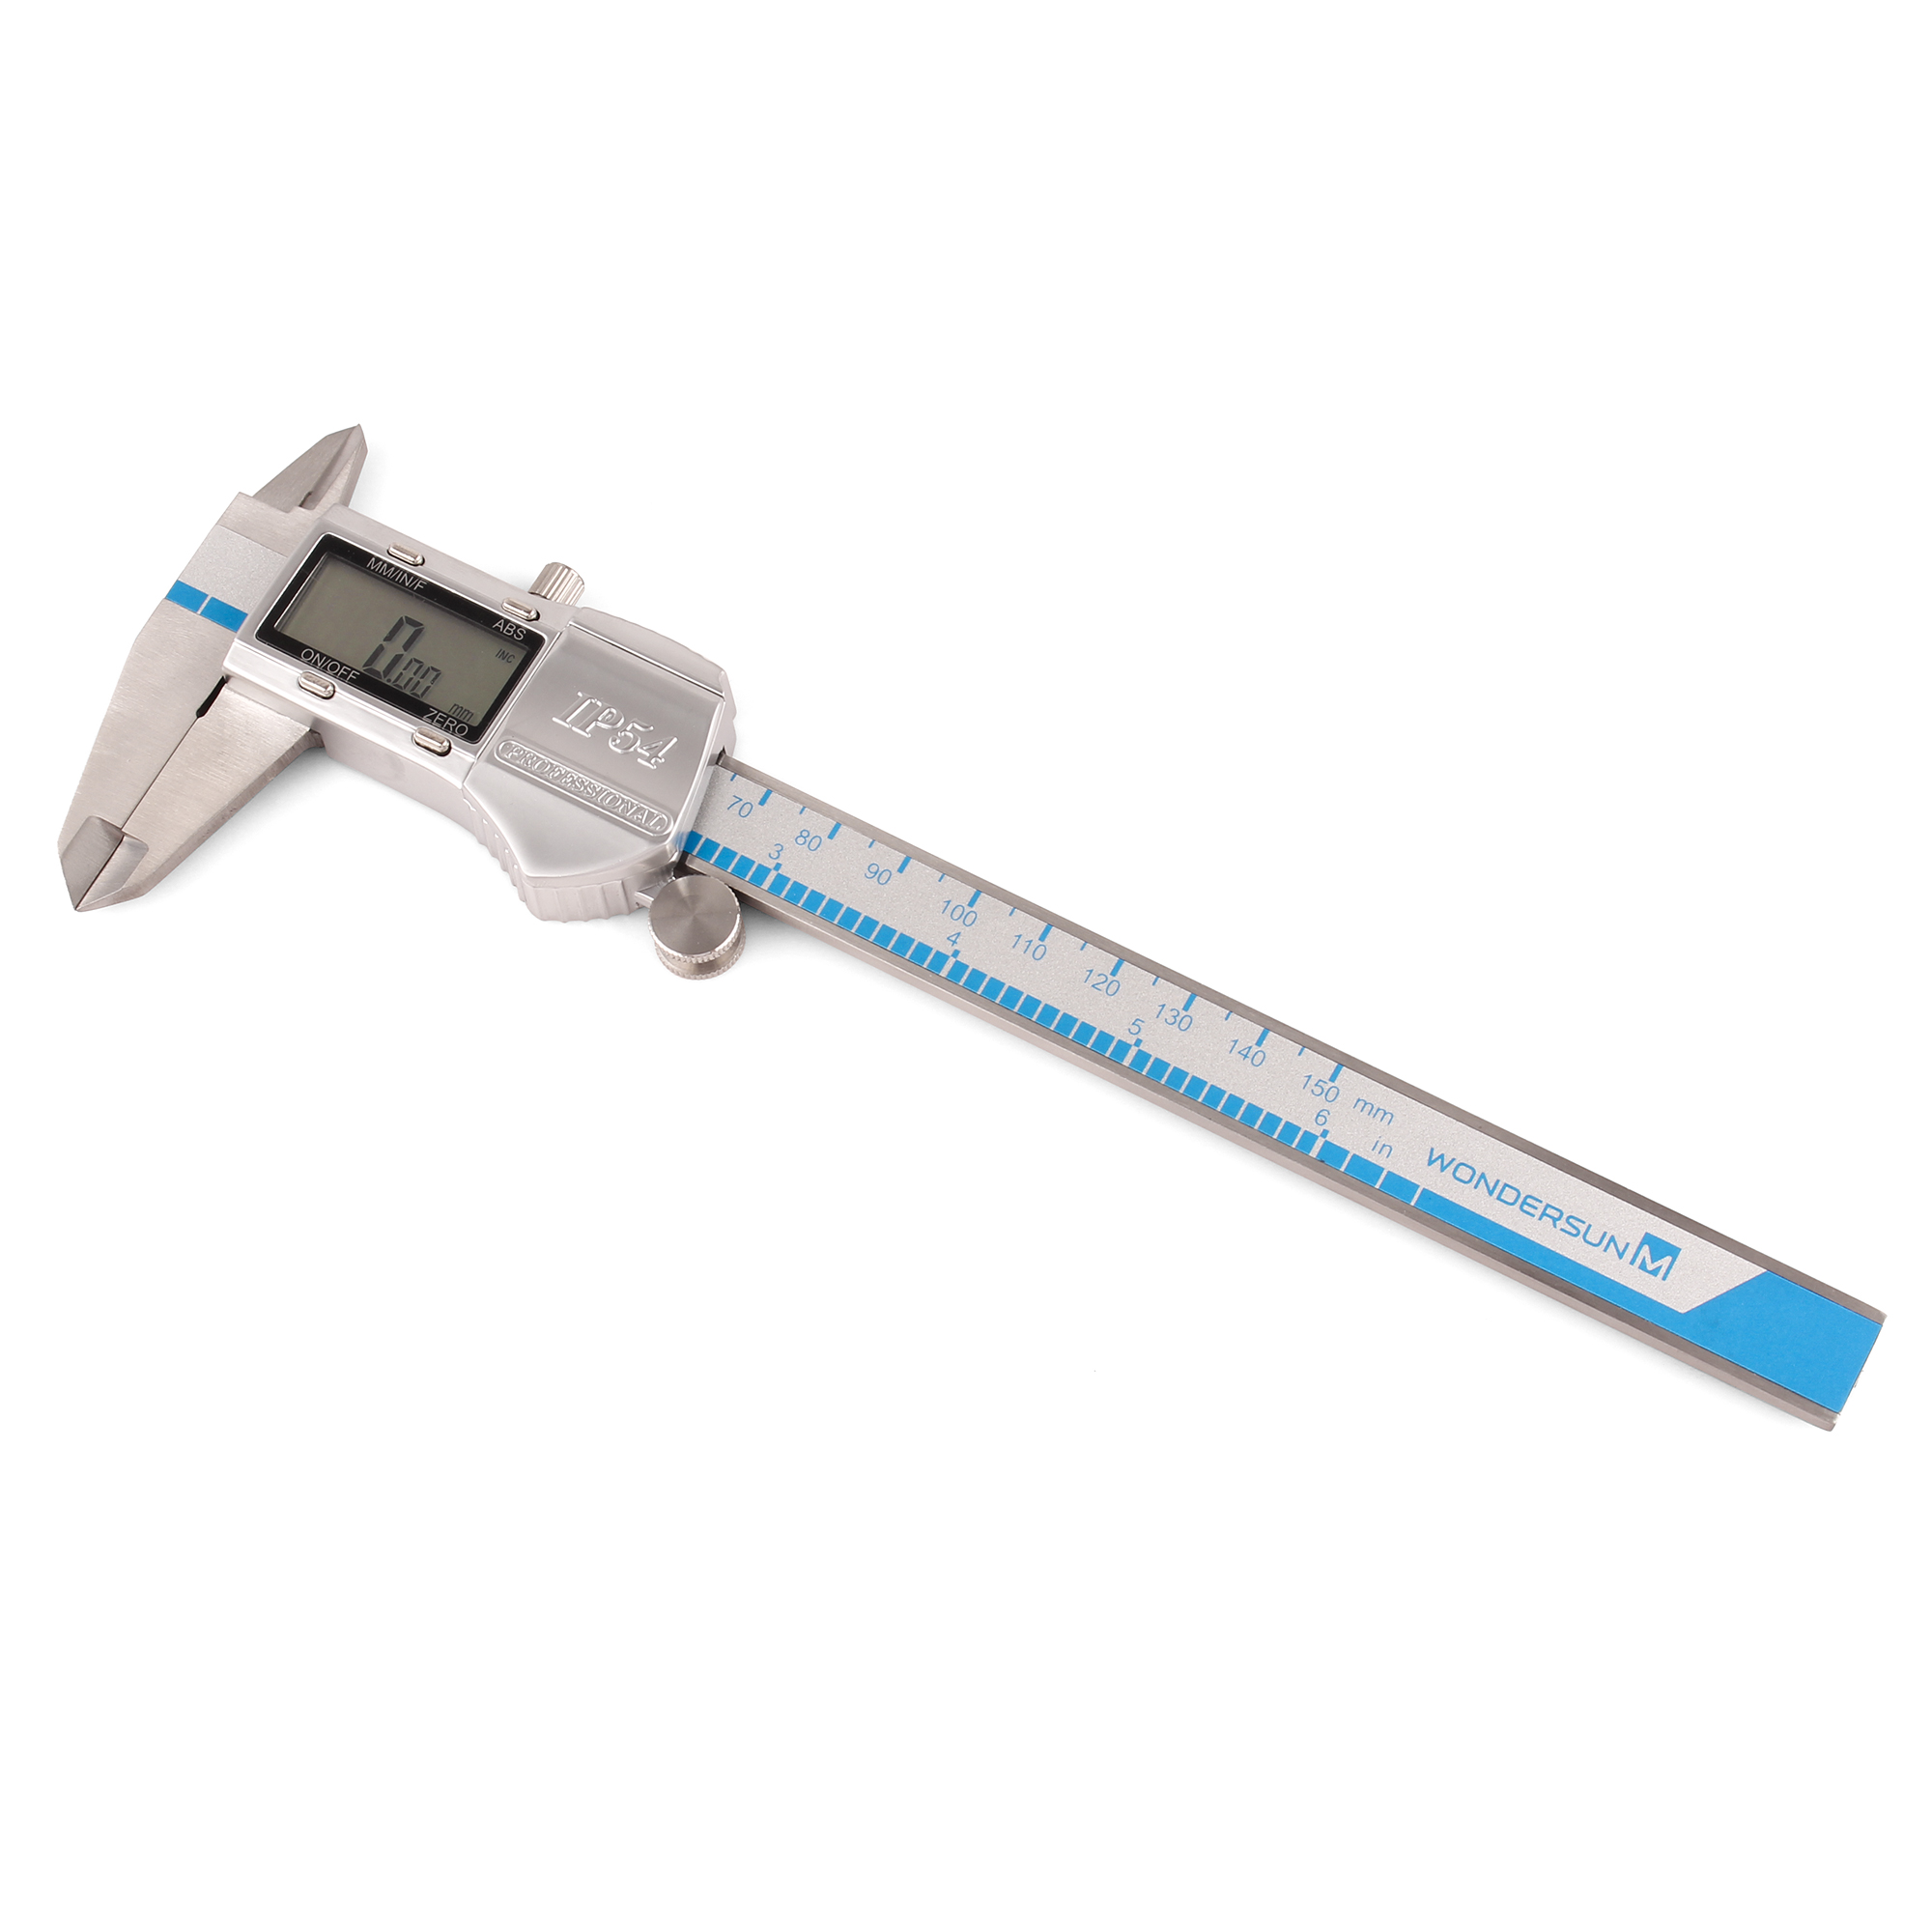
Why Digital Caliper Calibration Is Essential for Precision and Compliance
Getting digital calipers properly calibrated is essential for accurate measurements and meeting regulations in manufacturing sectors. When these tools aren't checked regularly, small issues from normal wear, changes in temperature, or physical stress can build up over time and lead to big problems down the road. Take aerospace parts for instance. If there's a tiny error of only 0.05 mm in measurement, it could cause components not to fit together correctly during assembly or worse, create safety hazards that nobody wants. The calibration process makes sure all measurements match against official NIST standards so readings stay reliable whether measuring outside diameters, inside spaces, or depths. This consistency matters a lot when quality control is part of daily operations.
Standards like ISO 9001 and FDA 21 CFR Part 11 mandate regular calibration that must be properly documented. When companies fail to follow these rules, they often end up failing audits, getting stuck with halted production lines, or facing some pretty hefty fines. The stakes are particularly high in certain industries. Take medical device makers for instance – if their calipers aren't calibrated correctly, patients could end up with faulty implants. Meanwhile in the automotive sector, even tiny measurement errors beyond ±0.01 mm tolerance levels have led to massive product recalls. Calibration isn't just about following rules though. It creates a paper trail so that every piece of equipment can be traced back through its certification history, which becomes invaluable during those dreaded quality inspections.
Leading manufacturers report that calibrated measurement tools reduce scrap rates by up to 18% and prevent compliance-related downtime. Regular calibration is not routine maintenance—it's foundational to product integrity, process reliability, and operational credibility.
Step-by-Step Digital Caliper Calibration Procedure
Pre-calibration checks: Battery, zero stability, and jaw seating
First thing to do is check the battery voltage. When batteries get low, measurements tend to drift off by more than 0.05 mm in about 8 out of 10 situations. Next up, test if the zero point stays stable. Just shut the jaws completely and see what shows on the screen after doing this three times over. It should stay around ±0.00 mm each time. Don't forget to look at the jaw surfaces too. Use a clean cloth free from lint to wipe away any dirt or grime that might be there. Also worth checking how parallel the jaws are when closed. A good magnifying glass at 10 times magnification works well for this. The edges of worn jaws are another concern. If they show signs of wear beyond 0.1 mm, then expect measurement errors somewhere between 0.03 and 0.12 mm. These small differences can really throw off readings in critical applications.
Three-point verification using certified gageblocks (0 mm, 25 mm, 150 mm)
To check if a digital caliper measures straight across its range, most technicians use three different points along with NIST-traceable gauge blocks. Begin by setting everything up at the closed jaw position, which should read around 0 mm. Next, grab those Grade K blocks and test them at about halfway through the scale, say around 25 mm mark, followed by another measurement close to full extension at approximately 150 mm. Take careful notes on any differences between what's expected and what actually appears on screen. Most regular digital calipers need to stay within plus or minus 0.02 mm difference throughout these tests. Something interesting happens though - according to field reports from workshops all over, nearly two thirds of failed calibrations happen right when measuring that last 150 mm spot. The reason? Often because the jaws simply bend slightly when pressure builds up there during measurements.
ID, OD, and depth jaw validation with ring and pin gages
To check the internal and external jaws, certified ring gages should be used for measuring inside diameters while pin gages work best for outside measurements. When dealing with depth rods, step blocks spaced at 5 mm intervals provide accurate reference points throughout the measurement range. It's important to take three separate measurements of each feature, making sure pressure remains steady during contact. If too much force is applied beyond around 3 Newtons, the readings can become unreliable by anywhere from 0.01 to 0.05 millimeters. All these numbers need proper documentation since according to industry standards like ISO/IEC 17025, any calibration errors must stay under 0.03 mm if the equipment is going to meet regulatory requirements for accuracy.
Calibration Standards for Digital Calipers: Selection, Traceability, and Validation
Gageblock grades (Grade 0 vs. Grade K) and uncertainty impact on digital caliper verification
The choice of gageblock grade makes a real difference when it comes to calibration accuracy. According to ISO 3650:2023 standards, Grade 0 blocks have extremely tight tolerances with uncertainties around ±0.05 micrometers. Grade K blocks, on the other hand, tend to be less precise with uncertainties going up to ±0.15 micrometers. Switching to Grade K can actually create measurement errors between 0.1% and 0.2%, which becomes a serious problem for industries where precision matters most such as aerospace components or medical implants. Most metrology professionals will tell anyone who asks that Grade 0 remains the gold standard for traceability purposes and should definitely be used during critical verification processes whenever possible.
Ensuring NIST-traceable calibration with ring gages and SRM 2101B alignment
For proper NIST traceability, equipment needs to be calibrated using certified reference standards. Ring gages are commonly used for checking internal dimensions, whereas Standard Reference Material 2101B from the National Institute of Standards and Technology offers certified dimensional references for both depth measurements and external features. By combining these two reference points, calibration drift over time stays well below ±0.02 mm, which meets important industry standards like ISO/IEC 17025 and FDA 21 CFR Part 11. Keep in mind that good practice involves not just performing calibrations but also making sure all traceability records are properly maintained alongside each calibration report. This helps maintain consistent measurement accuracy across operations.


